One written procedure per vehicle, from arrival to Cerakote Protected. Every participating unit at Lithia Chrysler Jeep Dodge Ram follows the same five stages, with the same checklist and the same sign-off, so the result is repeatable across stores.
Adjust the ADM before this unit goes back on the lot
Every coated vehicle must have the Cerakote ceramic protection package added to its dealer added markup, with an updated addendum sticker installed, before it is moved to the front line. A sales manager initials the coating record to confirm it.
No coated unit returns to the front line without: ADM adjusted + addendum sticker installed.
The Six Stages
01
New Vehicle Arrives
Confirm the unit is eligible for the program and open a coating record against the VIN before any product is opened.
Lot / inventory coordinator 5 minutes per unit
1Confirm the unit is on the eligible-inventory list for the program.
2Record VIN, year, model and trim on the coating record.
3Walk the vehicle and note any transit damage, overspray or existing defects.
4Capture the arrival photo set in the portal — all four corners plus every chip, scratch or dent you noted. This is the condition record for the VIN.
5Confirm the vehicle is not scheduled for paintwork, PPF or accessory installation that would need to happen first.
6Stage the unit for the application bay.
Do not skip
Do not start if the unit has pending body or paint repair — coating goes on after paintwork, never before.
02
Surface Preparation
Get the paint clean, defect-free and residue-free. Anything left in the paint gets sealed in by the coating.
Detail technician 60–120 minutes depending on unit condition
1Move the vehicle into a clean, well-lit bay and out of direct sunlight.
2Wash the full exterior with Cerakote Strip Wash and dry with clean microfiber towels.
3Decontaminate as needed to remove bonded transit contamination.
4Mask or protect trim, badging and adjacent non-target surfaces per shop practice — before any polishing starts.
5Perform any necessary paint correction to remove swirl marks, water spots, scratches and contaminants.
6If polishing is required, use Cerakote Pro Prep Polish explicitly.
7Wipe all painted surfaces with Cerakote Ceramic Prep (Panel Prep) to remove polish and correction residue before applying the coating.
8Inspect the panels under multiple light sources and confirm the surface is clean and dry before moving on.
Do not skip
Tape trim and plastics before polishing — compounds and polishes can permanently stain plastic and textured trim.
The coating is extremely durable and will seal in any imperfection that is not removed during preparation.
Never prep or coat in direct sunlight or on hot panels.
03
Cerakote Application — Paint & Glass
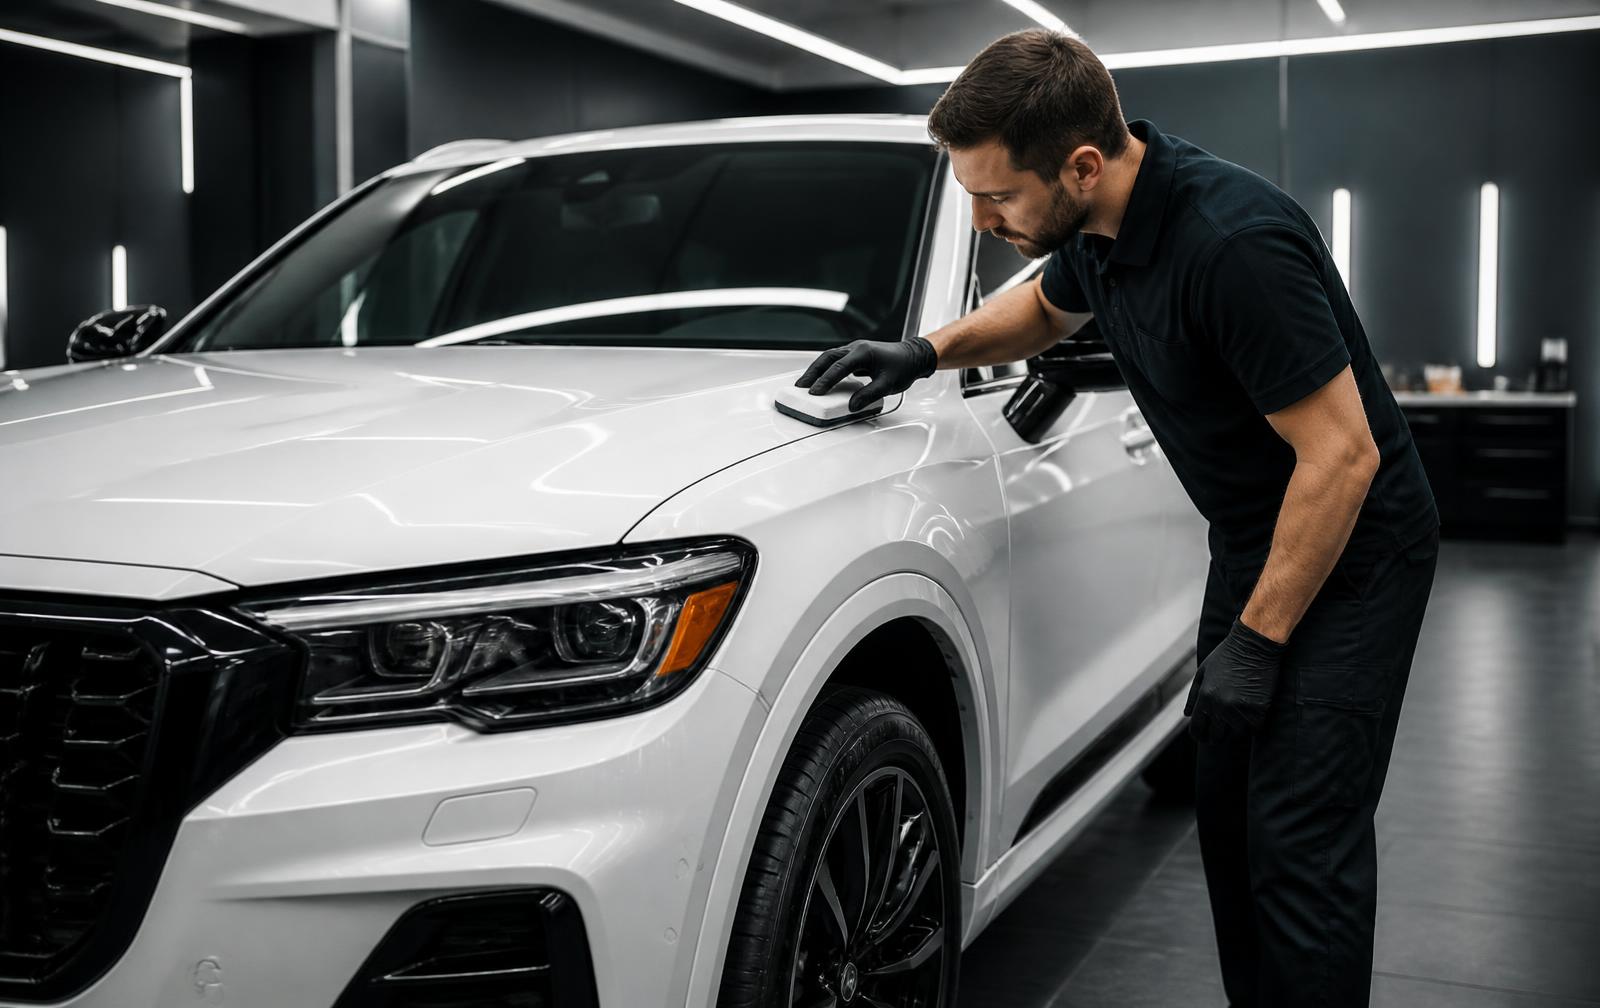
Apply the ceramic coating panel by panel, flash it, and buff it to a uniform, residue-free finish — then coat the exterior glass the same way.
Trained Cerakote applicator 60–105 minutes depending on vehicle size
1Shake the Cerakote Professional Ceramic Paint Coating bottle for thirty seconds.
2Plan the panel sequence for the whole vehicle before starting (e.g. door, hood, trunk lid) and have a timer ready.
3Lay out several high-quality microfiber towels for hand buffing.
4Wearing chemical-resistant gloves, apply a liberal amount of coating to a high-quality microfiber or suede applicator block.
5Wipe the coating on in a cross-hatch pattern — top to bottom, then side to side — making sure every area of the panel is covered.
6Add coating to the applicator as needed to keep the surface wet; if the applicator stops gliding smoothly, add more coating.
7Watch for the coating to sweat and bead up — typically within 1 to 3 minutes and up to 5 minutes. That is the visual indicator it has flashed and is ready to buff.
8Lightly hand buff with a clean, high-quality microfiber towel in small circular motions until the surface is slick and glossy.
9Repeat panel by panel until the planned coverage is complete.
10For water spots or contamination on glass, polish with Cerakote Glass Cream using a blue foam pad — glass ONLY; never use this on paint or trim.
11Clean all exterior glass with Cerakote Panel Prep or a dedicated glass cleaner and confirm it is fully dry.
12Open a fresh glass wipe from the kit for each piece of glass. Use one wipe for each side window, 1–2 wipes for the windshield depending on size, and 1–2 wipes for the rear window.
13Wipe onto one piece of glass at a time (windshield, then side glass, then rear glass) in a cross-hatch pattern — top to bottom, then side to side — for full, even coverage.
14Watch for the coating to sweat and haze, the same visual flash indicator as paint.
15Buff off with a clean, dry microfiber towel until the glass is perfectly clear with no residue or smearing.
16Check the windshield from the driver's seat at multiple angles to confirm zero haze or high spots that could affect visibility.
Do not skip
Work one panel at a time — do not coat the whole vehicle before buffing.
Do not let flashed coating sit unbuffed past the working window; high spots become much harder to remove.
Any residue left on the windshield can smear and impair visibility; buff until the glass is optically clear before moving on.
Lift the wiper blades and coat the full windshield including the sweep area; do not coat wiper blades themselves.
Cerakote Glass Cream is for glass only — do not use it on paint, trim or plastics.
04
Quality Control & Technician Sign-Off
Inspect paint and glass, correct anything you find, then sign off so a supervisor can countersign QC. Nothing moves — not to cure, not to the lot — until QC passes.
Applying technician → supervisor countersign 15 minutes per unit
1Walk the vehicle and inspect the paint under multiple light conditions to confirm all excess coating has been removed.
2Inspect every piece of exterior glass — especially the windshield from the driver's seat — to confirm the glass coating is fully buffed and optically clear with no haze, streaks or high spots.
3Check for high spots, streaks and missed areas at panel edges, mirrors and door jambs; correct them now.
4Confirm masking has been removed and trim and glass are clean.
5Note the product used and any rework performed on the coating record against the VIN.
6Sign off as the technician at the bottom of this stage — that records your name, signature and time on the VIN.
7Hand the unit to the supervisor for the QC countersign. Leave it in the bay until QC passes.
Do not skip
Your technician work ends here. A supervisor with a service-desk PIN reviews the vehicle and countersigns QC — you do not check that yourself.
Do NOT move the vehicle into the cure area until QC has passed. A failed QC means rework, and rework is easier before the unit is parked off.
No unit is released to inventory without a completed checklist and the arrival photo set on file.
05
Cure Hold — QC Passed
Once QC has passed, park the unit in the cure area and protect the fresh coating through the cure window. It stays there while the service desk finishes the paperwork.
Shop lead (after QC countersign) 2 hours before driving · 24 hours before water
1Confirm the QC countersign is on the record before the unit is moved.
2Move the QC-passed unit into the designated cure area and log it there.
3Let the coating fully cure for two hours before the vehicle is driven.
4Keep the vehicle away from water for at least one day after application.
5Do not wash, rinse or run the unit through a car wash during the cure window.
6Apply the Cerakote Protected hangtag and leave the customer care explainer in the vehicle for sales to hand over at delivery.
7Leave the unit in cure until the service desk has finished the ADM, invoicing and lot certification in stage 06.
Do not skip
Cure comes after QC — never before. A unit parked in cure with QC still open can't be corrected without pulling it back.
Customer care and maintenance guidance is delivered by sales/F&I at vehicle delivery — it is not a technician step.
Test drives inside the cure window need shop-lead approval and must avoid water exposure.
The unit is NOT lot-ready coming out of cure — the service desk completes stage 06 first.
06
Service Desk — ADM, Invoicing & Lot Certification
Service-desk work, done while the unit is curing: adjust the dealer added markup, complete the internal invoice against the RO, then pull the unit from cure and certify it lot-ready.
Service desk / inventory manager (sales management sign-off) Same day — while the unit is in cure
1Confirm stages 01–05 are checked off and the QC countersign is on the record for this VIN.
2Add the Cerakote ceramic protection package to the vehicle's addendum / dealer added markup in the DMS.
3Verify the ADM total and the vehicle's advertised price now reflect the addition.
4Complete the internal invoice against the RO number assigned at QC and post it to the vehicle's cost.
5Print and install the updated addendum sticker / window label next to the factory Monroney.
6Confirm the addition and adjusted price are pushed to the website and third-party listings.
7Confirm the cure window has elapsed, then pull the unit from the cure area.
8Certify the unit lot-ready and release it to the front line.
Do not skip
This stage belongs to the service desk, not the technician. The technician's part of the job ended at the stage 04 sign-off.
STOP — do not move the vehicle to the lot until the ADM is adjusted, the internal invoice is posted and the updated addendum sticker is installed.
A coated unit priced without the addition is sold at a loss and creates a disclosure problem. No exceptions.
If the DMS cannot be updated right away, leave the unit in the cure/hold area — not on the front line.
Print one checklist per vehicle, tick each line as it is completed, and file it with the before / after photos. The sheet is the release document — no unit goes back to inventory without it signed.
Confirm the unit is on the eligible-inventory list for the program.
Record VIN, year, model and trim on the coating record.
Walk the vehicle and note any transit damage, overspray or existing defects.
Capture the arrival photo set in the portal — all four corners plus every chip, scratch or dent you noted. This is the condition record for the VIN.
Confirm the vehicle is not scheduled for paintwork, PPF or accessory installation that would need to happen first.
Stage the unit for the application bay.
02Surface Preparation
Move the vehicle into a clean, well-lit bay and out of direct sunlight.
Wash the full exterior with Cerakote Strip Wash and dry with clean microfiber towels.
Decontaminate as needed to remove bonded transit contamination.
Mask or protect trim, badging and adjacent non-target surfaces per shop practice — before any polishing starts.
Perform any necessary paint correction to remove swirl marks, water spots, scratches and contaminants.
If polishing is required, use Cerakote Pro Prep Polish explicitly.
Wipe all painted surfaces with Cerakote Ceramic Prep (Panel Prep) to remove polish and correction residue before applying the coating.
Inspect the panels under multiple light sources and confirm the surface is clean and dry before moving on.
03Cerakote Application — Paint & Glass
Shake the Cerakote Professional Ceramic Paint Coating bottle for thirty seconds.
Plan the panel sequence for the whole vehicle before starting (e.g. door, hood, trunk lid) and have a timer ready.
Lay out several high-quality microfiber towels for hand buffing.
Wearing chemical-resistant gloves, apply a liberal amount of coating to a high-quality microfiber or suede applicator block.
Wipe the coating on in a cross-hatch pattern — top to bottom, then side to side — making sure every area of the panel is covered.
Add coating to the applicator as needed to keep the surface wet; if the applicator stops gliding smoothly, add more coating.
Watch for the coating to sweat and bead up — typically within 1 to 3 minutes and up to 5 minutes. That is the visual indicator it has flashed and is ready to buff.
Lightly hand buff with a clean, high-quality microfiber towel in small circular motions until the surface is slick and glossy.
Repeat panel by panel until the planned coverage is complete.
For water spots or contamination on glass, polish with Cerakote Glass Cream using a blue foam pad — glass ONLY; never use this on paint or trim.
Clean all exterior glass with Cerakote Panel Prep or a dedicated glass cleaner and confirm it is fully dry.
Open a fresh glass wipe from the kit for each piece of glass. Use one wipe for each side window, 1–2 wipes for the windshield depending on size, and 1–2 wipes for the rear window.
Wipe onto one piece of glass at a time (windshield, then side glass, then rear glass) in a cross-hatch pattern — top to bottom, then side to side — for full, even coverage.
Watch for the coating to sweat and haze, the same visual flash indicator as paint.
Buff off with a clean, dry microfiber towel until the glass is perfectly clear with no residue or smearing.
Check the windshield from the driver's seat at multiple angles to confirm zero haze or high spots that could affect visibility.
04Quality Control & Technician Sign-Off
Walk the vehicle and inspect the paint under multiple light conditions to confirm all excess coating has been removed.
Inspect every piece of exterior glass — especially the windshield from the driver's seat — to confirm the glass coating is fully buffed and optically clear with no haze, streaks or high spots.
Check for high spots, streaks and missed areas at panel edges, mirrors and door jambs; correct them now.
Confirm masking has been removed and trim and glass are clean.
Note the product used and any rework performed on the coating record against the VIN.
Sign off as the technician at the bottom of this stage — that records your name, signature and time on the VIN.
Hand the unit to the supervisor for the QC countersign. Leave it in the bay until QC passes.
05Cure Hold — QC Passed
Confirm the QC countersign is on the record before the unit is moved.
Move the QC-passed unit into the designated cure area and log it there.
Let the coating fully cure for two hours before the vehicle is driven.
Keep the vehicle away from water for at least one day after application.
Do not wash, rinse or run the unit through a car wash during the cure window.
Apply the Cerakote Protected hangtag and leave the customer care explainer in the vehicle for sales to hand over at delivery.
Leave the unit in cure until the service desk has finished the ADM, invoicing and lot certification in stage 06.
06Service Desk — ADM, Invoicing & Lot Certification
Confirm stages 01–05 are checked off and the QC countersign is on the record for this VIN.
Add the Cerakote ceramic protection package to the vehicle's addendum / dealer added markup in the DMS.
Verify the ADM total and the vehicle's advertised price now reflect the addition.
Complete the internal invoice against the RO number assigned at QC and post it to the vehicle's cost.
Print and install the updated addendum sticker / window label next to the factory Monroney.
Confirm the addition and adjusted price are pushed to the website and third-party listings.
Confirm the cure window has elapsed, then pull the unit from the cure area.
Certify the unit lot-ready and release it to the front line.